Month: September 2017
Fuel System – Firewall Forward
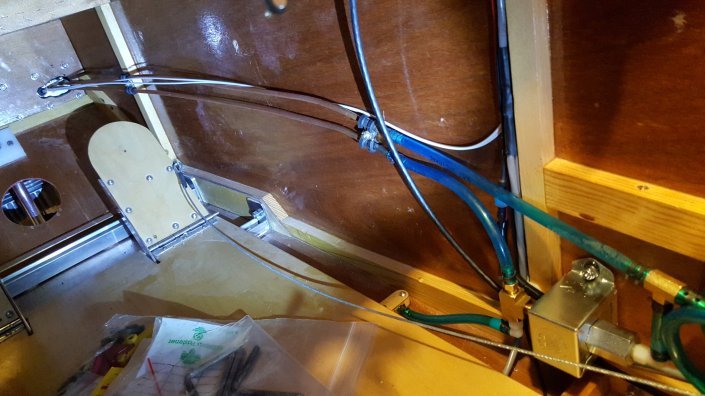
Two fuel lines pass through the firewall. One is from the electric fuel pump, the other is gravity feed. In the picture below the right line comes from the electric fuel pump. The inline check valve ensures fuel can only flow towards the engine.
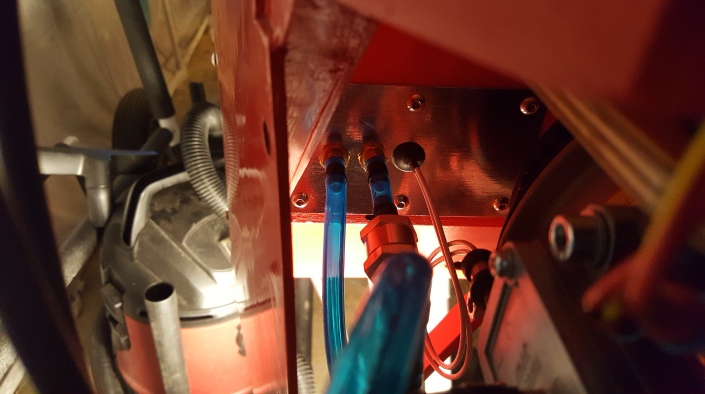
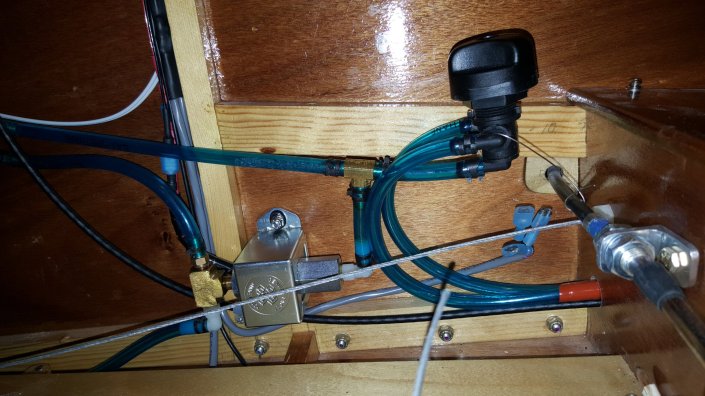
After the check valve is a tee, shown below. Left side connects to the electric fuel pump check valve, right to mechanical pump check valve and the top goes to the carburetor. Behind the tee is the inlet for the mechanical pump. It’s fuel line is connected to the left line in the picture above. Rest assured, the top hose now has a clamp, it was not installed when I took this picture.

Below you can see the mechanical fuel pump on the right. The outlet connects to a check valve that’s connected to the tee. I wrapped some silicone tape around the check valve so won’t chafe nearby components.
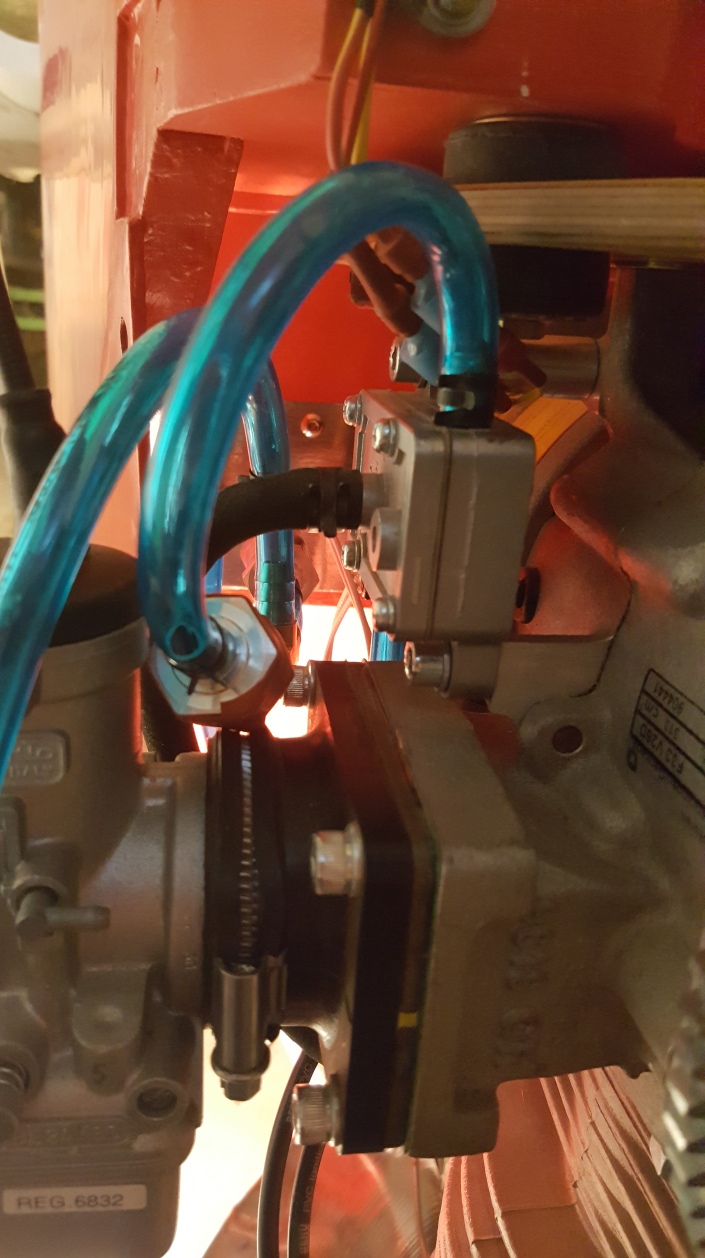
The outlet of the tee connects to the fuel inlet banjo on the Dellorto PHBE34BD3 carburetor.
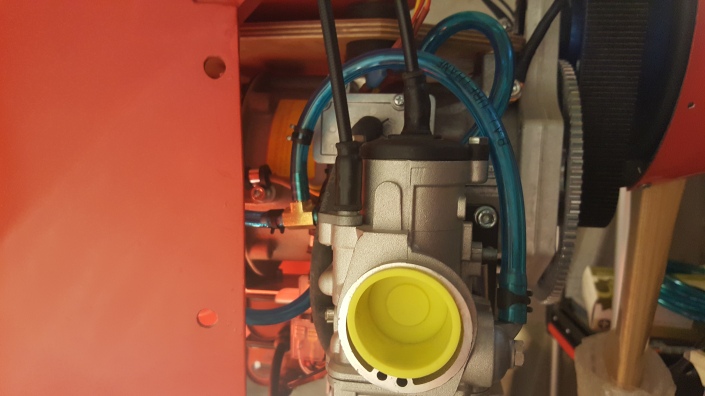
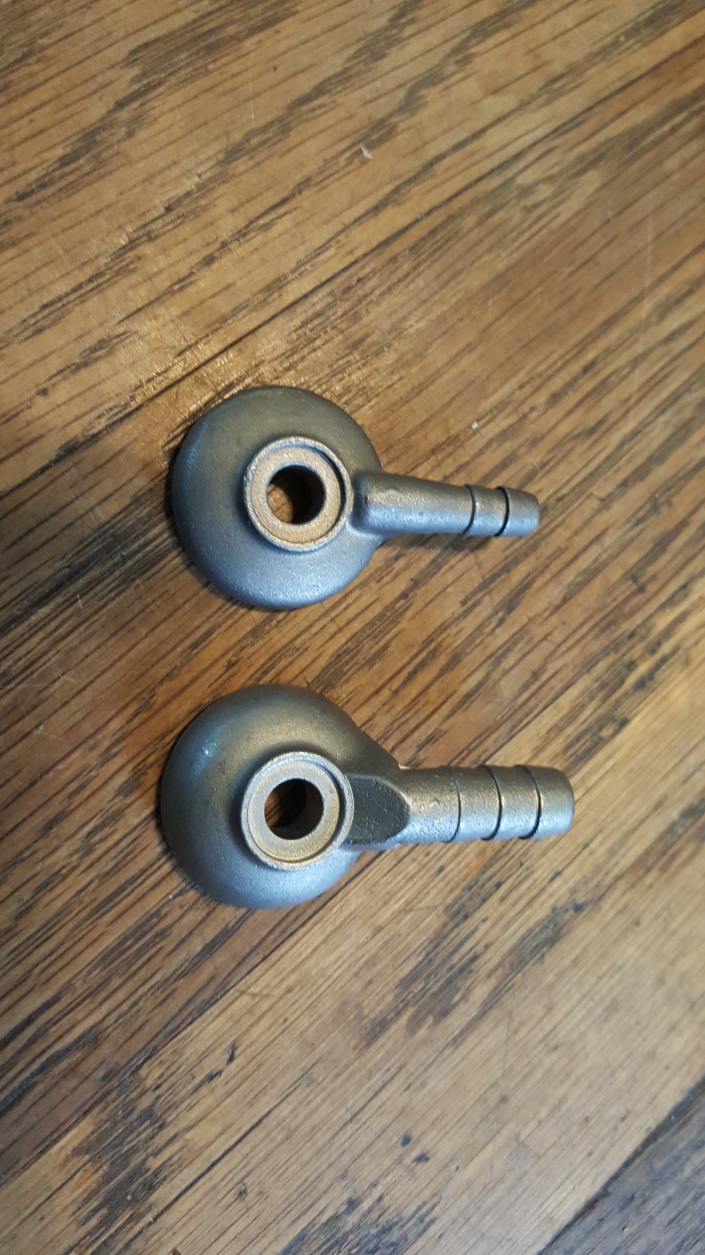
This is one complaint I have about the Hirth F-33, it came with the fuel pump and carburetor. The outlet on the fuel pump is made for 1/4″ (6.3mm) ID hose but the inlet on the carburetor is only 6mm. To resolve this I ordered a new fuel inlet banjo, Dellorto part number 6273 that has a larger diameter barb.
Now all I need to do is fasten the fuel tanks in the wings and install the air filter and she is ready to run!
Fuel System
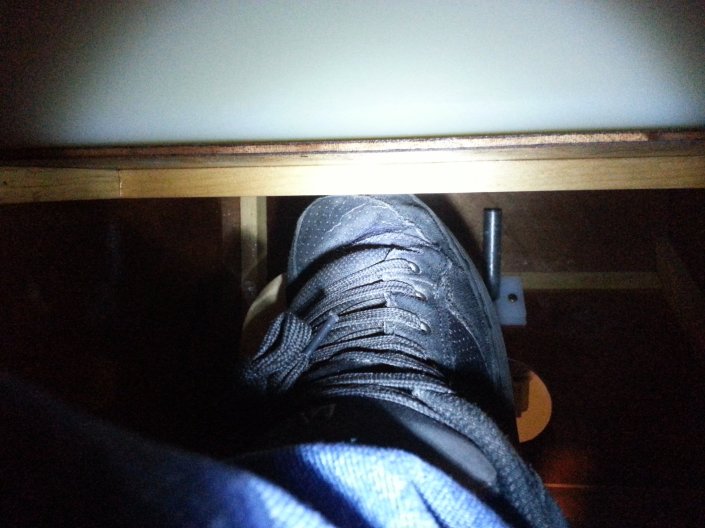
I’ve spent many hours researching and thinking about the best way to design the fuel system. Originally I planned to use the five gallon fuselage tank that came with my kit. But after deciding to register my airplane instead of going Part 103 I decided to add wing tanks. It would have been nice to use the fusealge tank as a header tank but the fact it interferes with my toes when working the rudder pedals I decided it would be best to remove it. Maybe I can build a custom header tank that does not hit my toes but for now I decided to move forward without it.
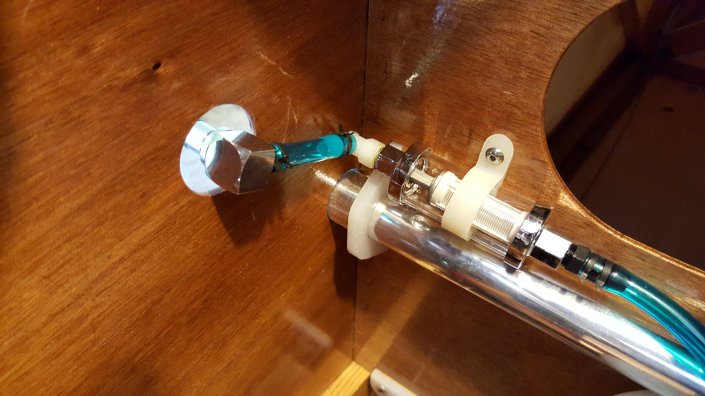
Starting at the wing we have the valved quick disconnect. I used a 90° male end to keep the hose along the fuselage side.
Directly after that are the fuel filters. This location is easy to access for service and inspection.
I still wanted some sort of header tank to ensure the fuel pumps won’t suck air when I’m banking and the tank is not full. The simplest solution to this was to add an inexpensive one quart tank for each wing tank.
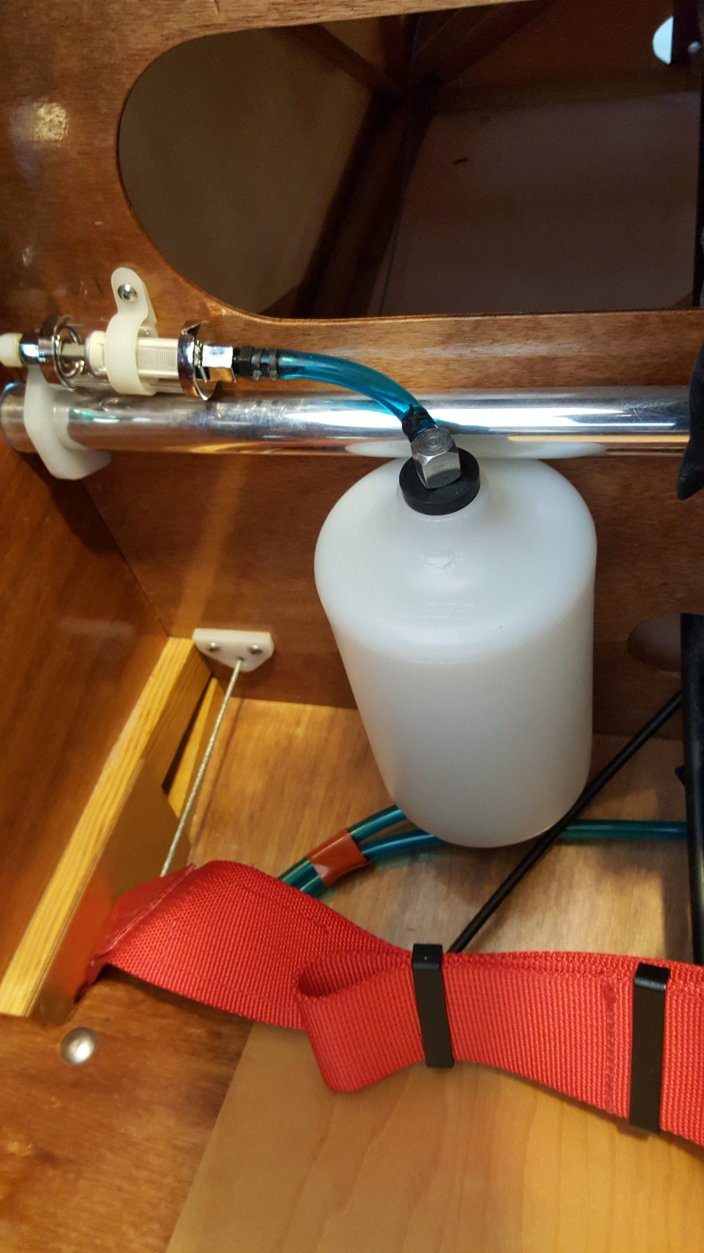
These were originally designed for radiator overflow and came with a small vent hole that I sealed with some heat.
The bottom of the tanks are routed to the right and left input of the selector valve. This valve is from a jet ski, easy to find so it can be replaced periodically before it fails. It only provides left, right and off positions. For midwing airplanes, like mine having a both position could result in the pump sucking air from an empty tank instead of fuel from the full tank.
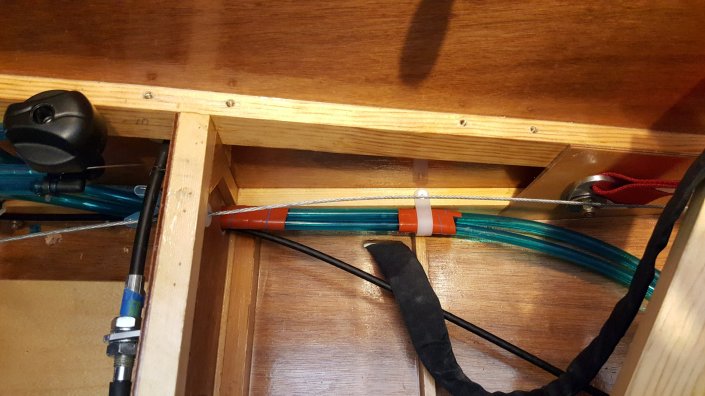
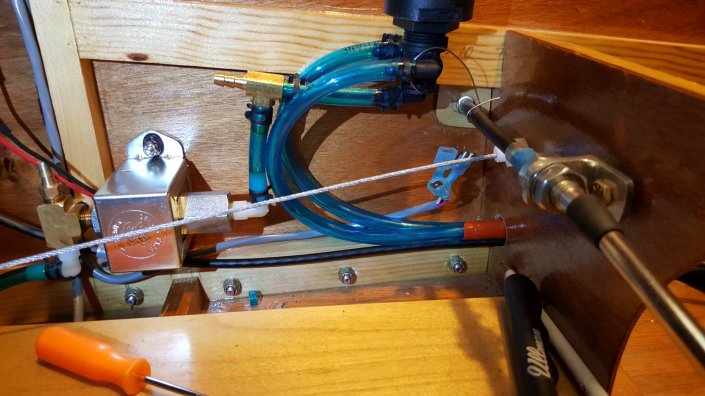
After the valve is a tee, each outlet is connected to a different fuel pump. An electric pump and a mechanical pulse pump on the engine. I mounted the electric pump in the fusealge right after the valve.
Some day I’ll need to drain all the fuel so I can replace fuel lines, valves and to service the fuel filters. The outlet of the electric pump connects to a tee, one outlet towards the firewall, the other to the Curtis drain valve I installed on the bottom of the fuselage.
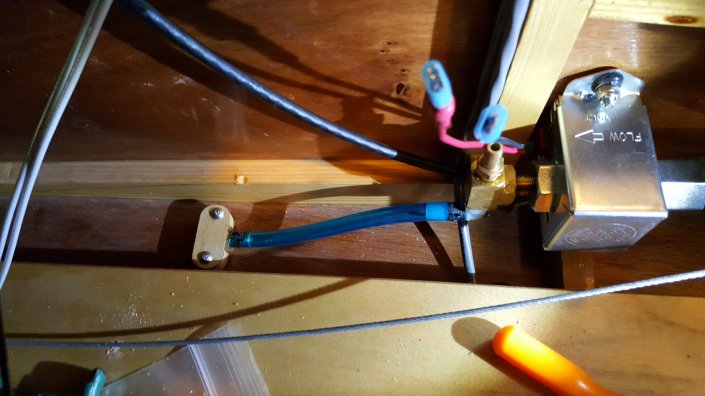
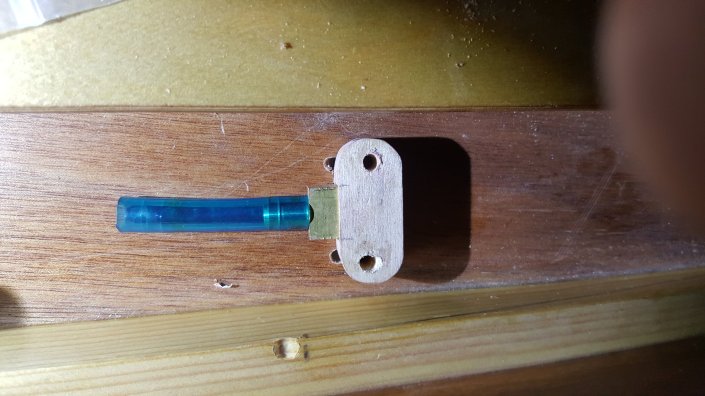
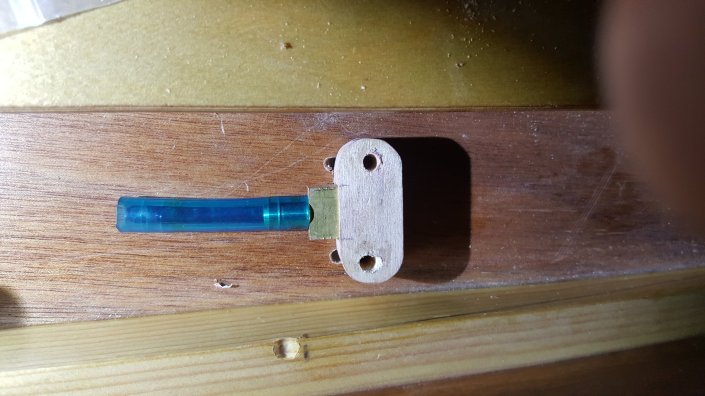
Mounting the valve was simple after making a retaining bracket out of some plywood and a piece of RS-7. The bottom plywood is made from 1/8″, this is needed to lift the brass piece off the floor to leave room for the hose clamp.
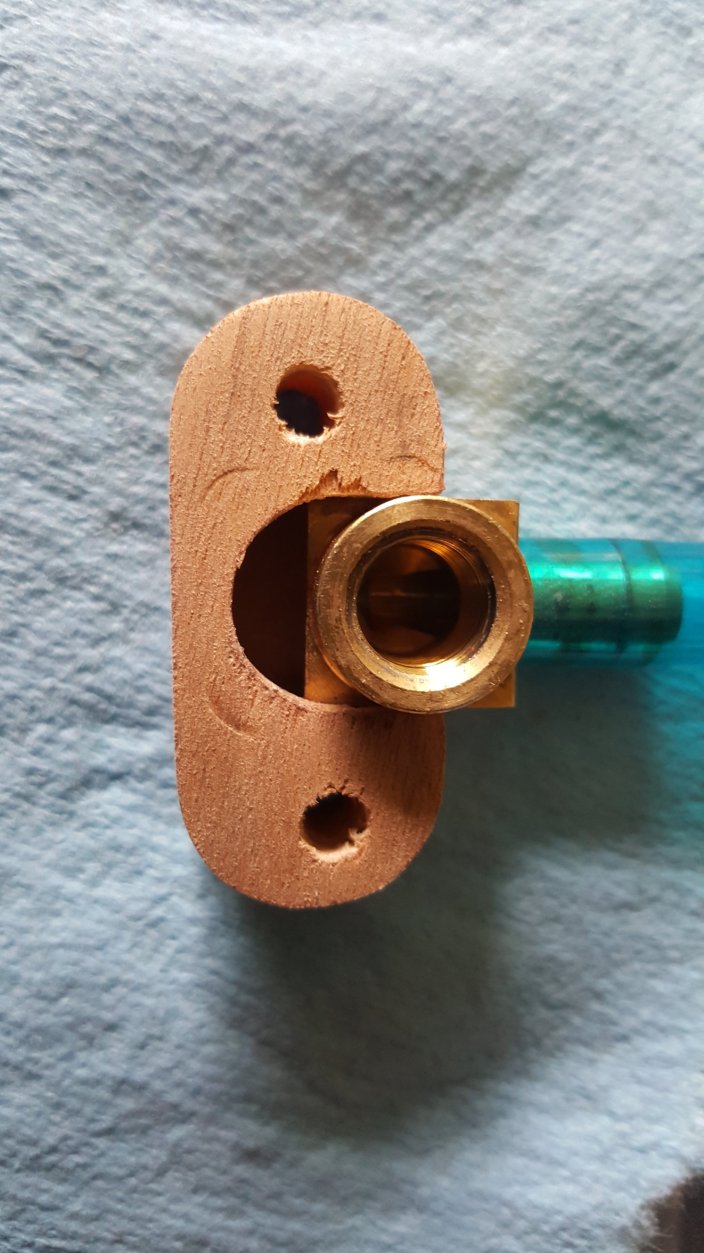
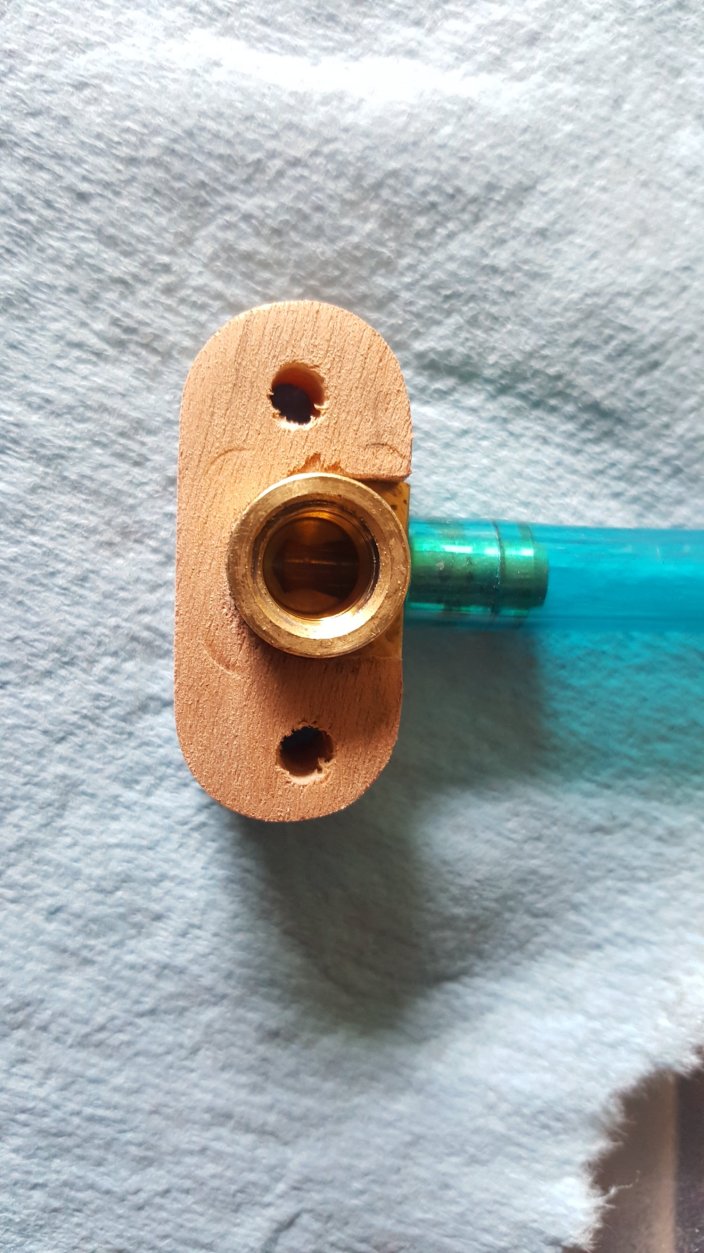
The RS-7 was cut so it fits around the brass piece and then some 1/16″ ply was added as a top.
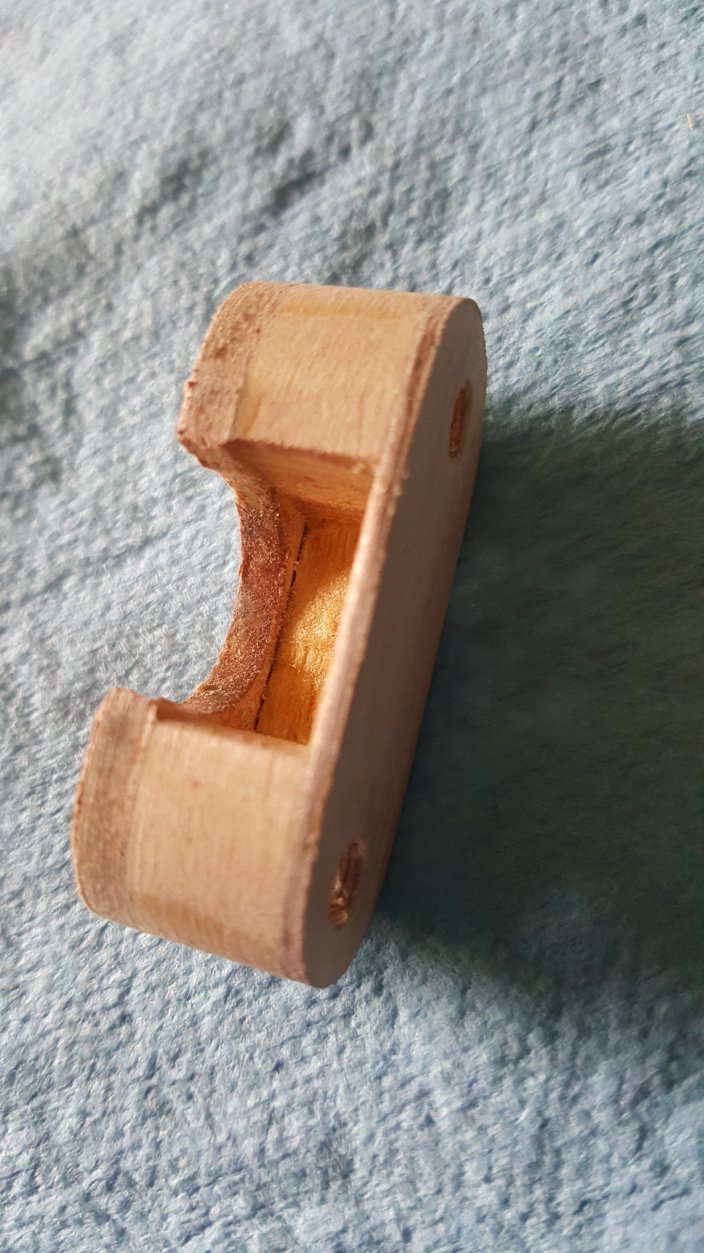
The round part on the brass is 0.550″, I used a 1/2″ forsner bit and a file to make the hole. I placed the brass piece in the hole and slid the retainer over the brass to through drill the two mounting holes.
Next I used a small file and made a notch from the body hole to one of the mounting holes.
This will allow the Curtis valve to fit through the hole.
The retainer is slid over the valve and mounted in place.
Some of these pictures were taken before I tightened down the drain valve into the brass. Before I did that I coated the threads with Permatex Aviation Form-A-Gasket to help ensure I have no leaks.
Added some washers and lock nuts and the drain is ready for use.
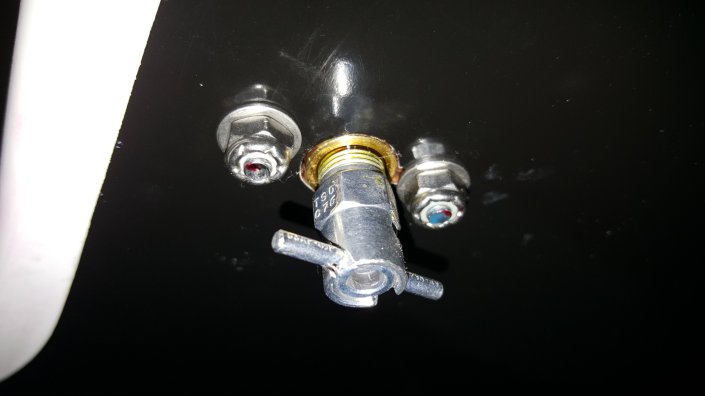
The nice feature of these valves is that they have a mating drain hose that locks onto and seals against the valve so you can drain without spilling or dripping fuel.
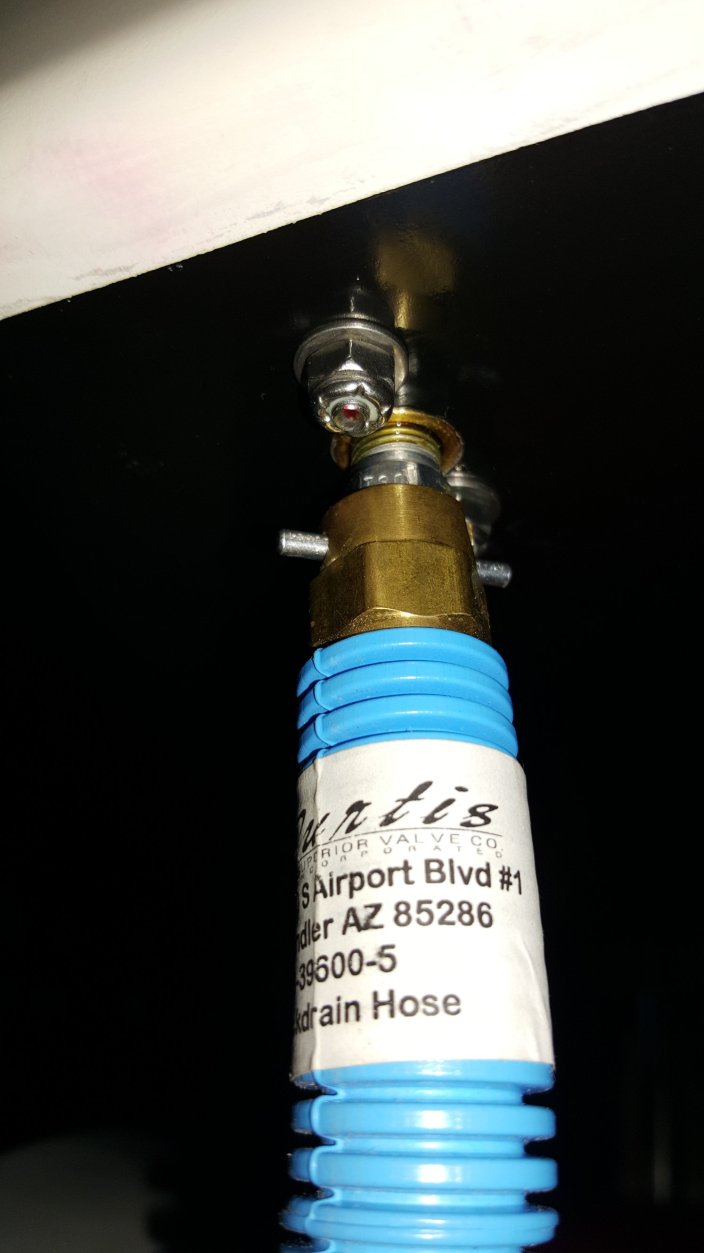
To speed up draining just turn the Facet pump on, using the selector valve you can select what tank to drain.
I used some copper pipes to make the penetration at the firewall. The reason I did this is for safety. If there is ever a fire in the engine compartment the blue fuel line will melt from the heat and I’d have fuel leaking by my toes near a fire. The long copper lines will take some time to transmit heat from an engine fire all the way back to the blue lines.
I’ll cover firewall forward in a future post.
Updated Wing Wizard
Long time since I’ve posted anything but I’ve been busy painting. So glad I built these wing racks, made working in this small garage so much easier.
The first wing wizard worked ok, after using it a few times I realized it needed some improvements. To start with the base needed to have less flex in it. So I used a 4×4 for the main cross piece and some 1×4 for the caster supports. A 4×4 was way Overkill but it was cheap and simple. Besides the extra weight adds some stability.
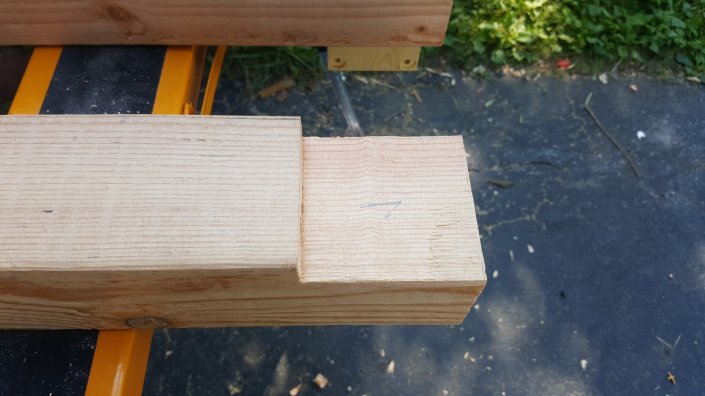
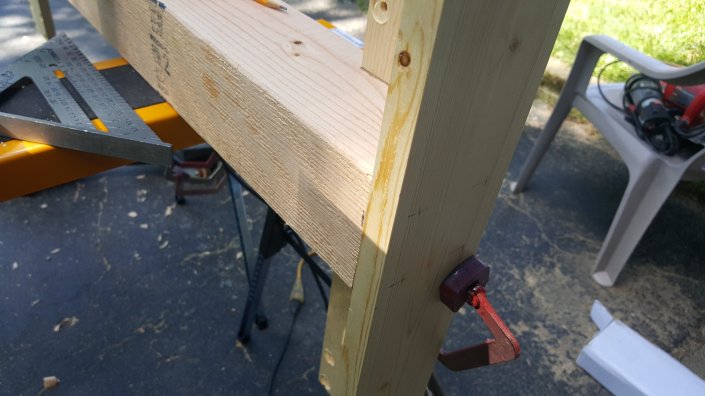
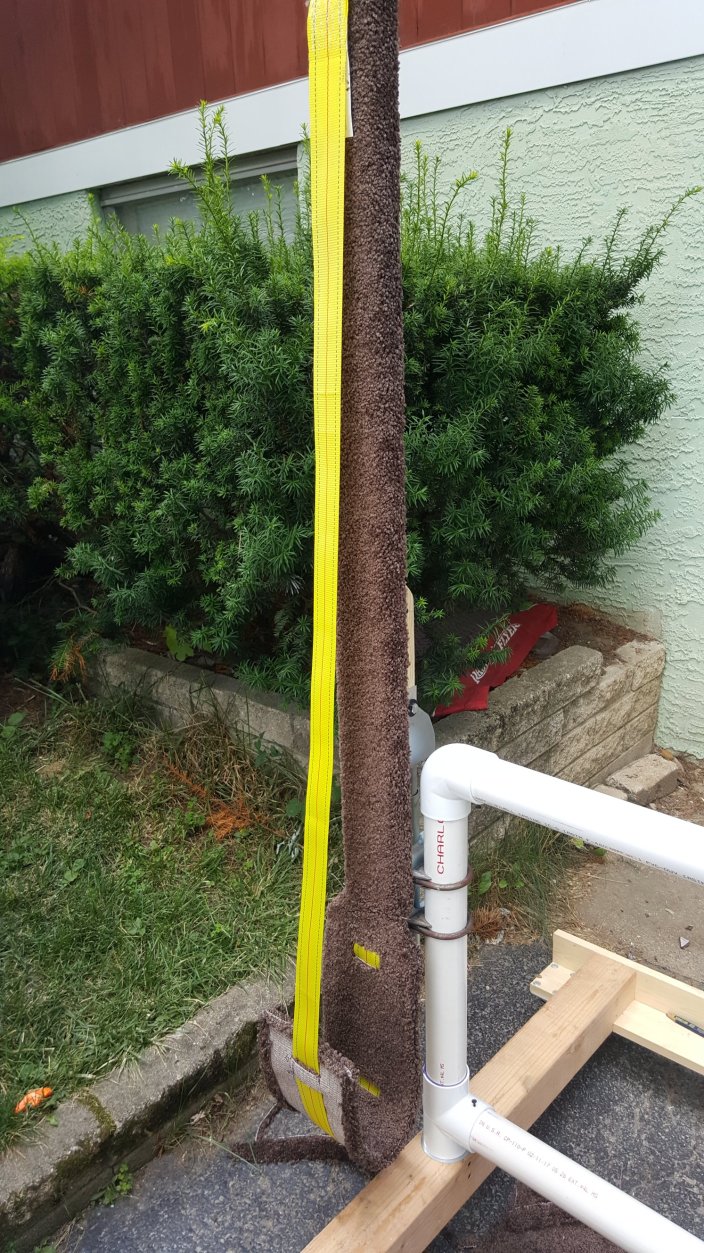
2″ PVC was used to connect the two bases, the bottom tee was notched to allow the rotation of the bases. The base was drilled in the center and a piece of PVC was inserted to fit up into the tee.
When rotating the wing, locking the wing in place is easy with the cam lock nuts from Rockwell.
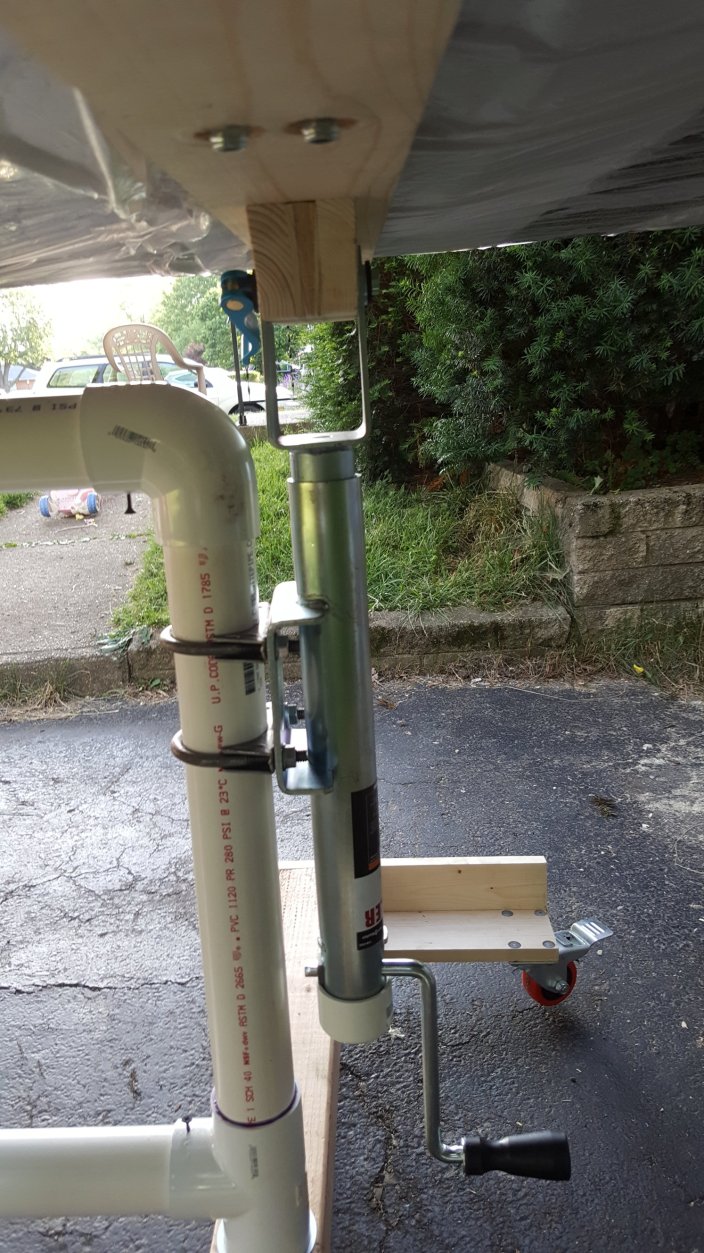
To raise and lower each side I purchased a couple trailer jacks from HarborFreight and mounted them with some exhaust pipe clamps. Don’t get tempted to get a square tubing jack, you want the arm to rotate so you don’t have to remove the arm to clear the struts.
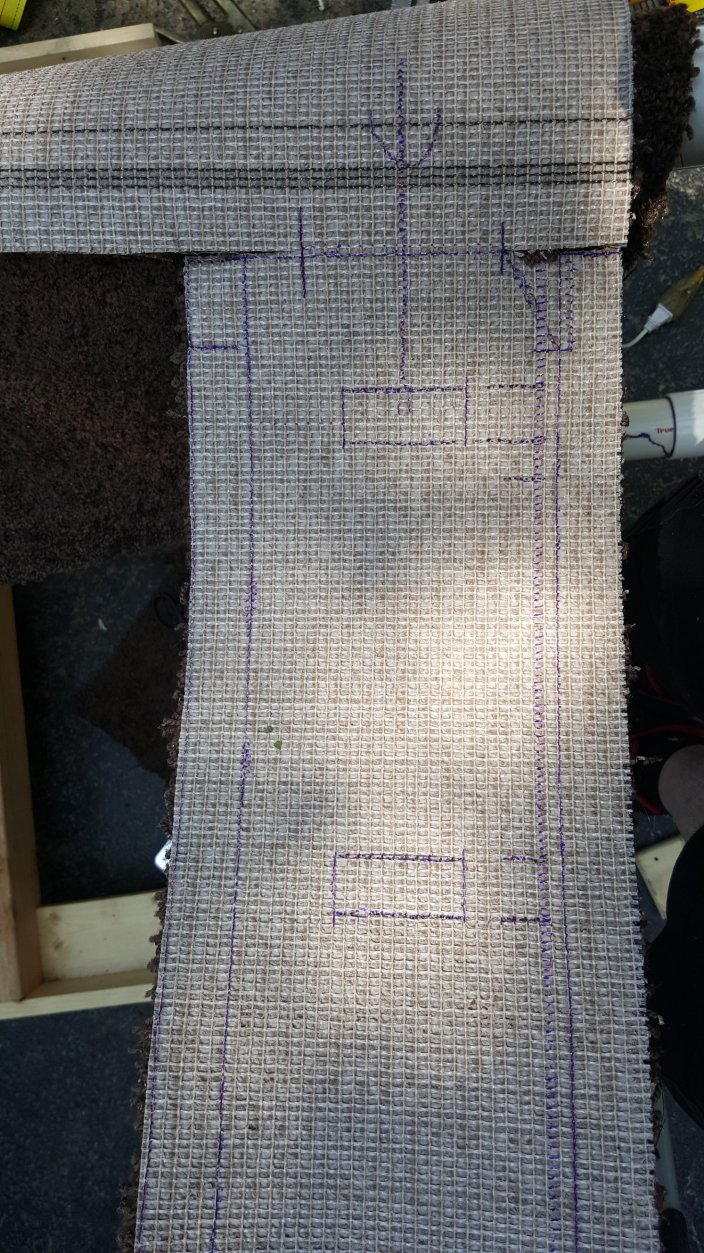
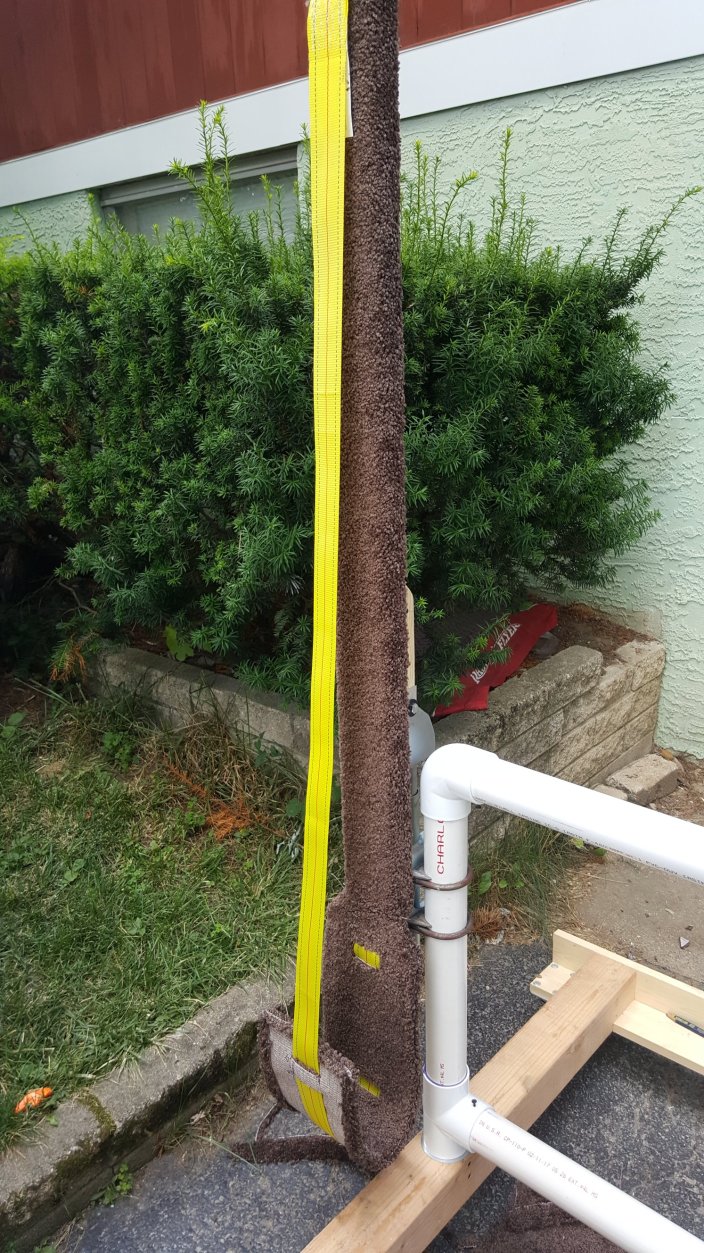
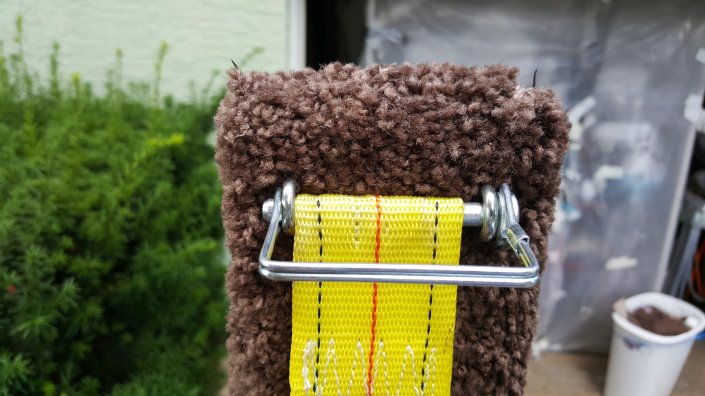
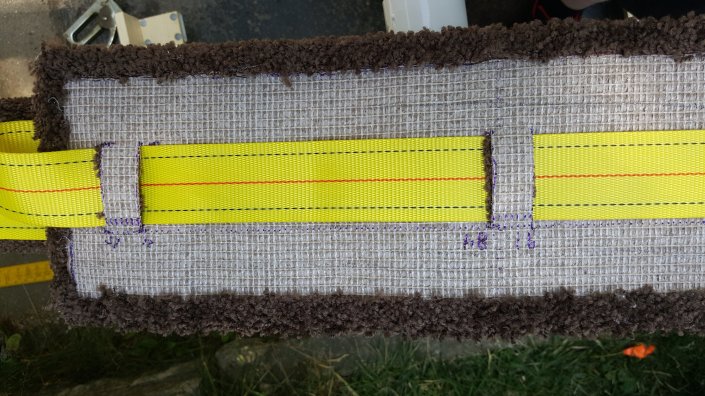
To hold the wing some soft carpet was combined with 2″ tie down straps to create a nice cradle less likely to damage the wing than the previous design.
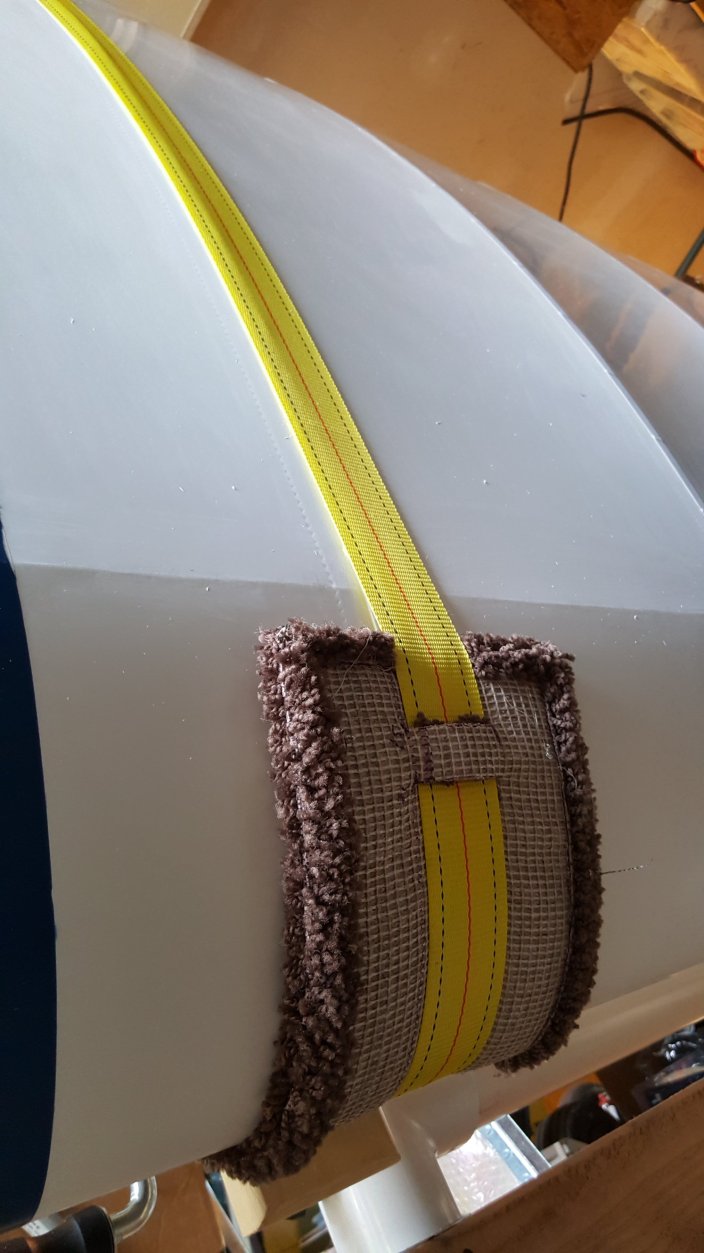
Both wings easily store in my one car garage.
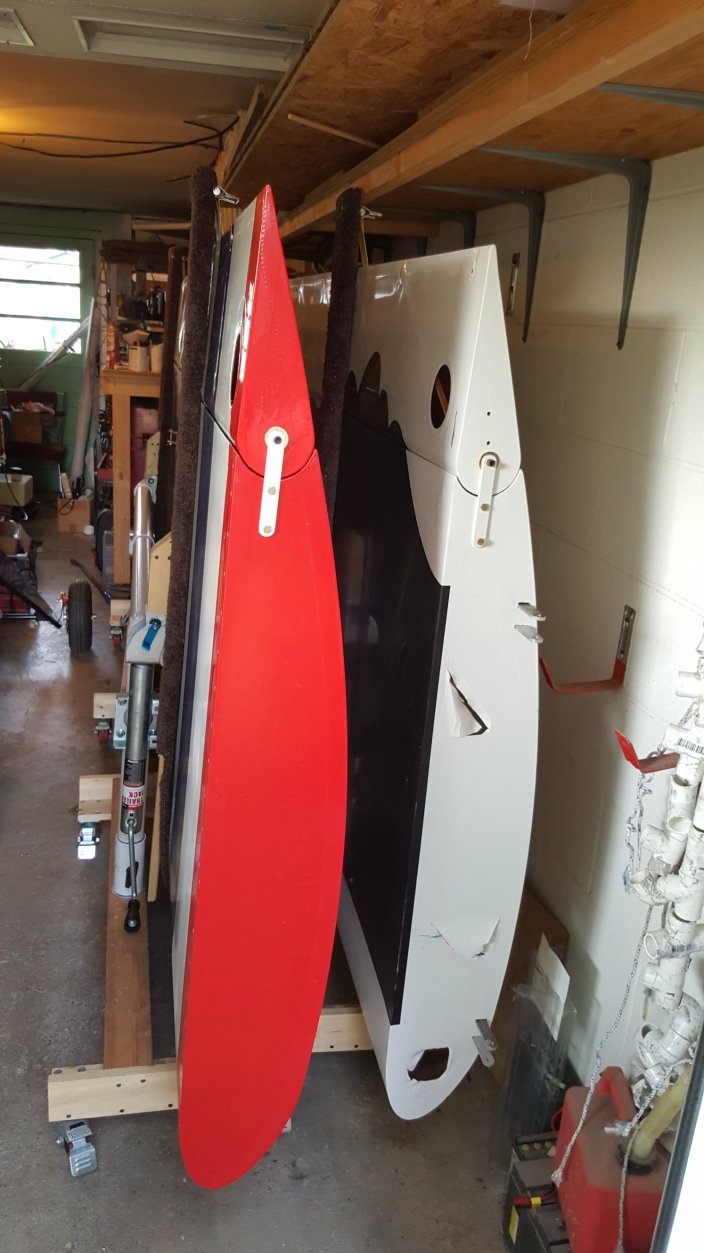
I did write down all the dimensions but have not taken the time to post it all here. The bases have the same measurements so should not be hard to figure it out from my original design. If you are interested in this information leave a comment, might motivate me to make a more detailed post.
