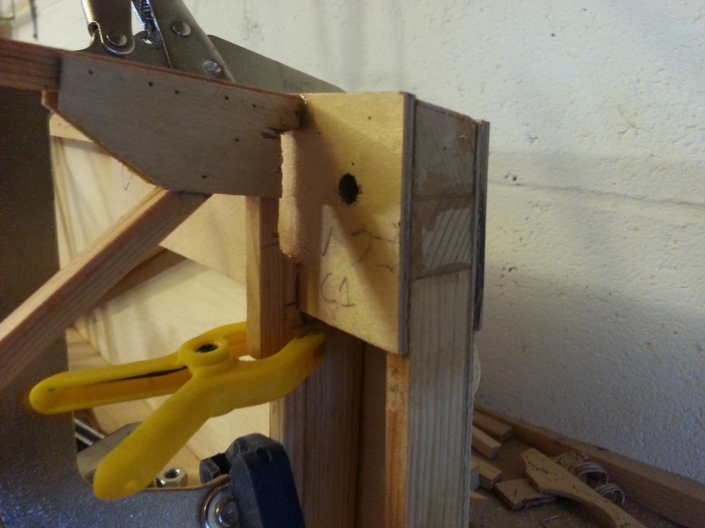
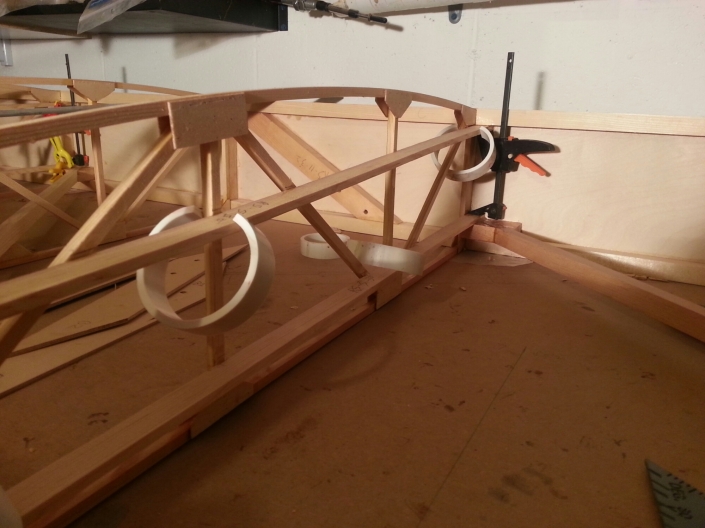
Month: April 2015
Elevator Cable
I glued the nose ribs on the left wing, while that was drying I decided to get the elevator cable installed. Once the elevator cable brackets are glued in place I can start varnishing the fuselage.
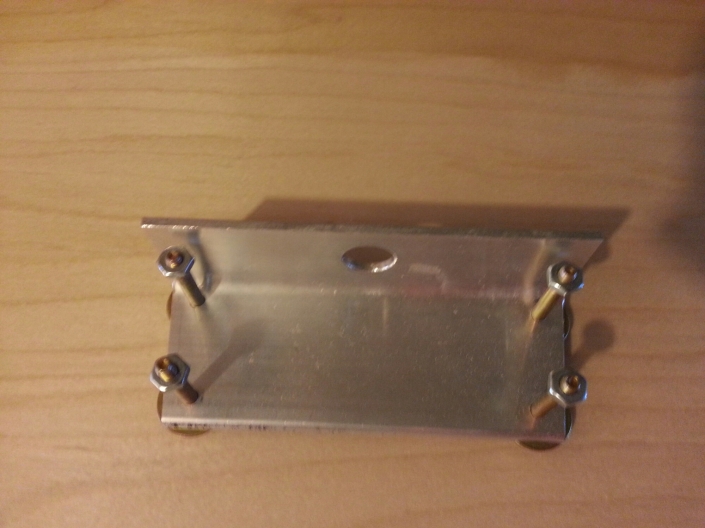
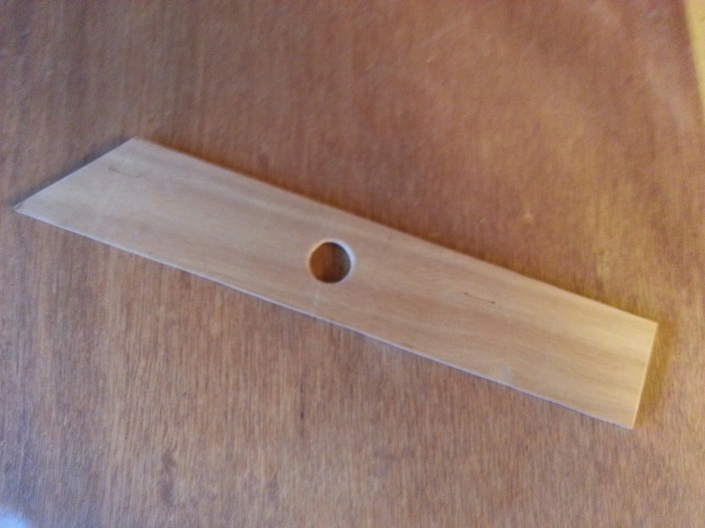
I first cut the RS-201 bracket that holds the cable at the rear of the fuselage.
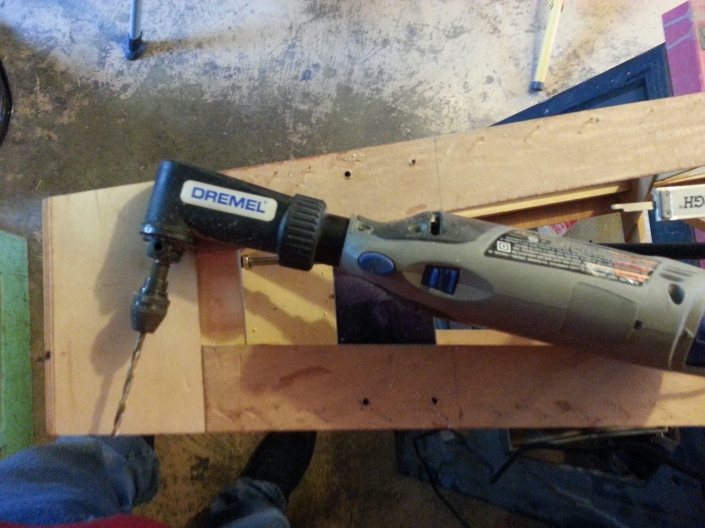
I did not drill the holes for the shoulder seat belt cables because I plan to mount them different than the plans after reading this accident report that will be discussed in a future post. The four mounting holes were only drilled to 1/8″. Once the bracket was in place I match drilled the fuselage using my dremel 90° attachment and a 1/8″ bit.
I then drilled the fuselage and bracket holes to 3/16″.
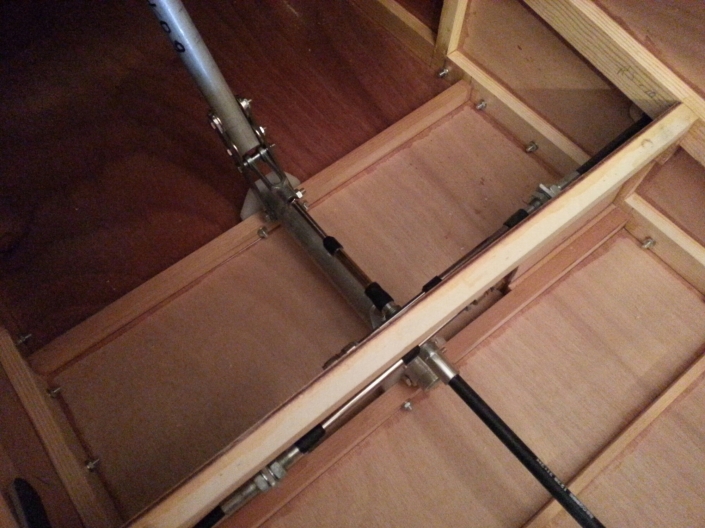
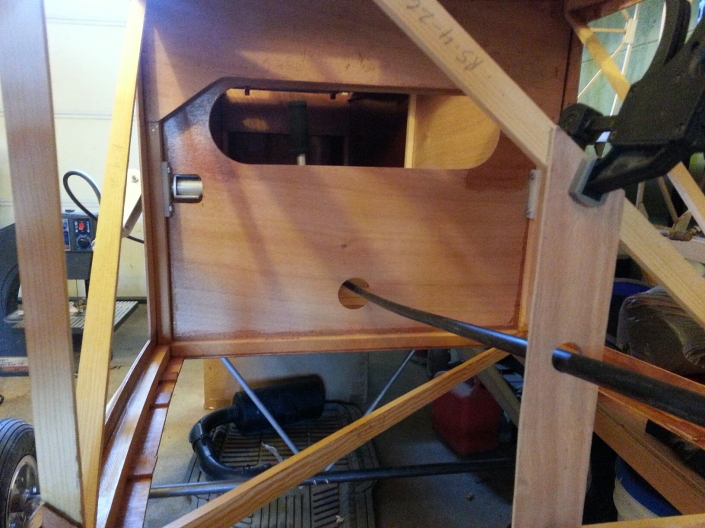
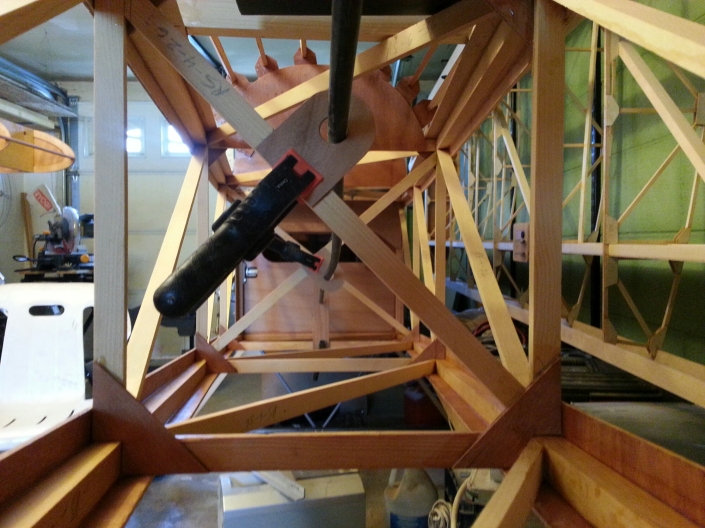
Next I routed the cable through the fuselage mounting it to the control stick and rear bracket.
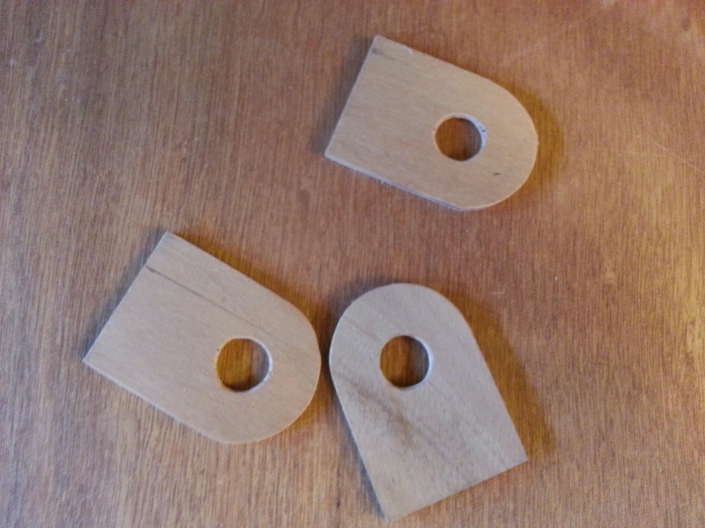
Using some 1/8″ plywood scrap I cut three brackets with a 5/8″ hole.
I soon discovered that the bracket at station #5 needed to be made different.
Holding the cable lower with the larger bracket allowed the cable to rest in the middle of the bulkhead hole so it does not rub when moving the stick.
Here you can see the other two brackets.
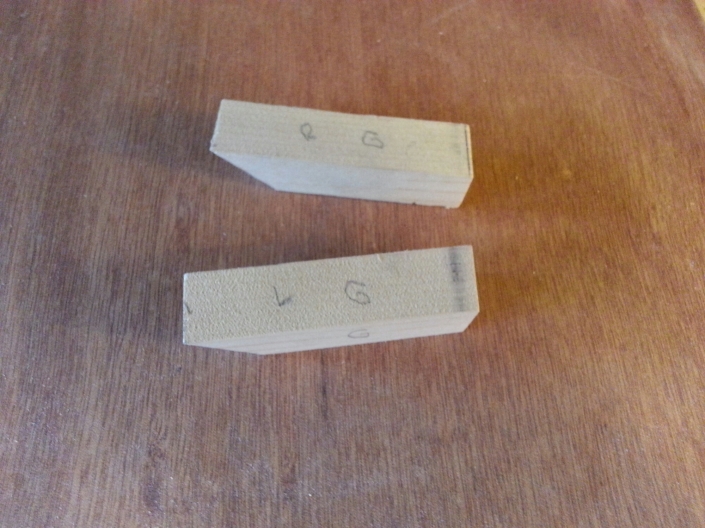
Lastly two RS-9 blocks need shaped and glued in place just in front of the rear bracket.
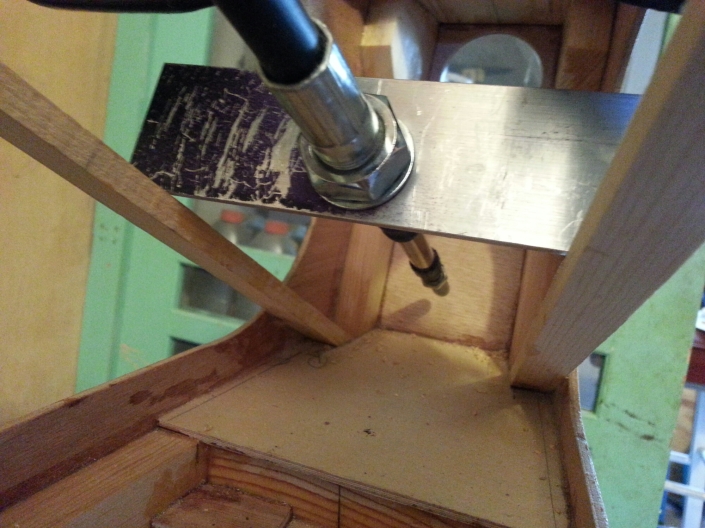
Those were glued in place while the bracket was installed. I then removed the bracket and wiped off any excess glue that got on it. Once dry the bracket was reinstalled.
Aileron spar caps and cross braces
With the wing inverted I cut the remaining spar caps and all of the cross braces.
I first glued the cross braces that go through rib #1 and #10 at the rear of the aileron. These are difficult to put in place once both spar caps are glued in.
All of the top cross braces were glued in place.
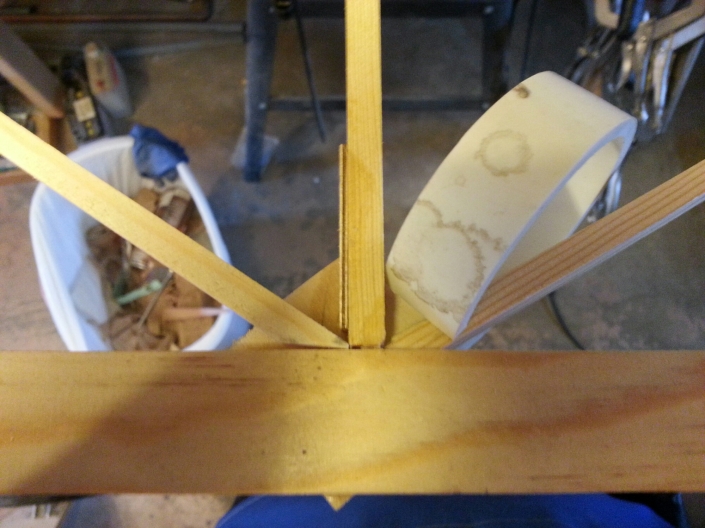
Then the bottom spar caps were glued in place.
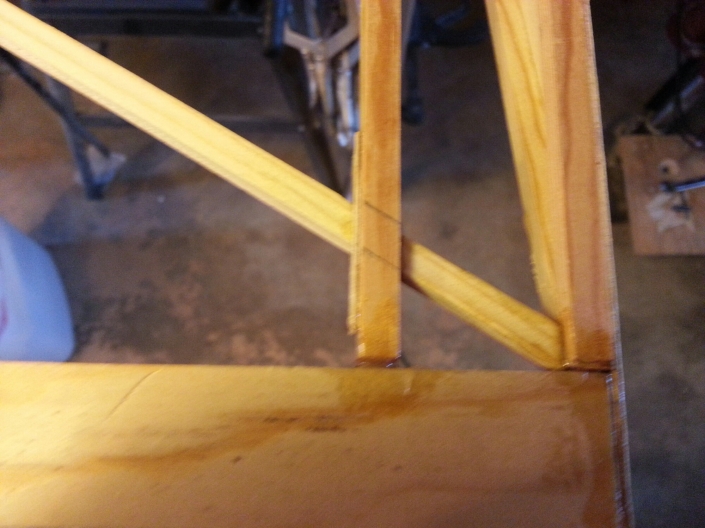
Once that was dry the bottom cross braces were glued in place.
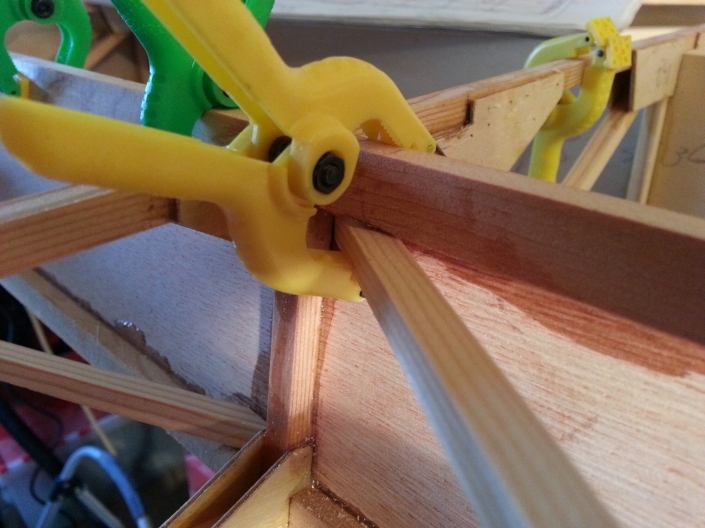
I made sure that they were in line with the rib and trailing edge so the plywood gussets will have good contact.
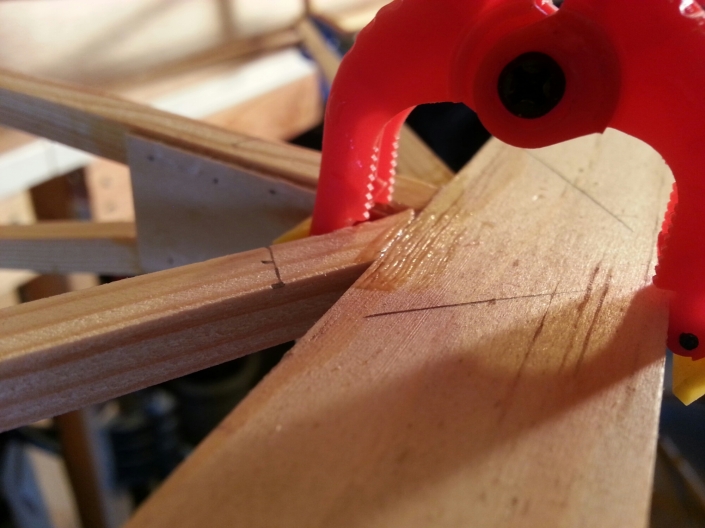
Once that was dry I cut small pieces of RS-1 to connect all of the cross braces.
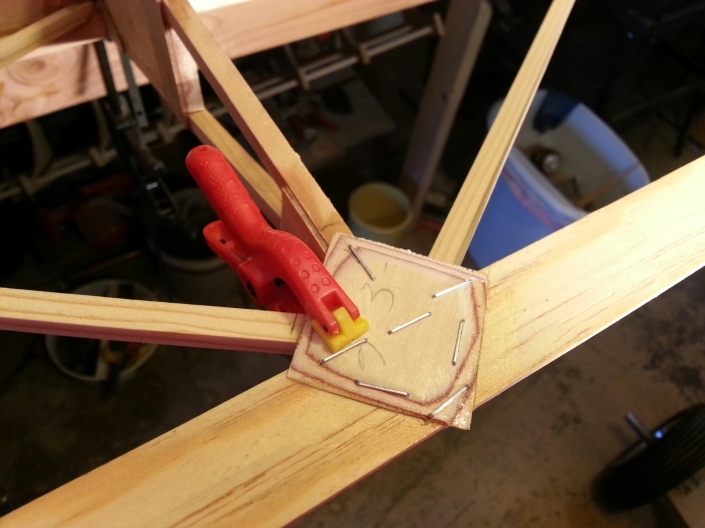
Then all of the RS-533 gussets were glued in place.
The next task is to complete the leading edge.
Aileron spar caps
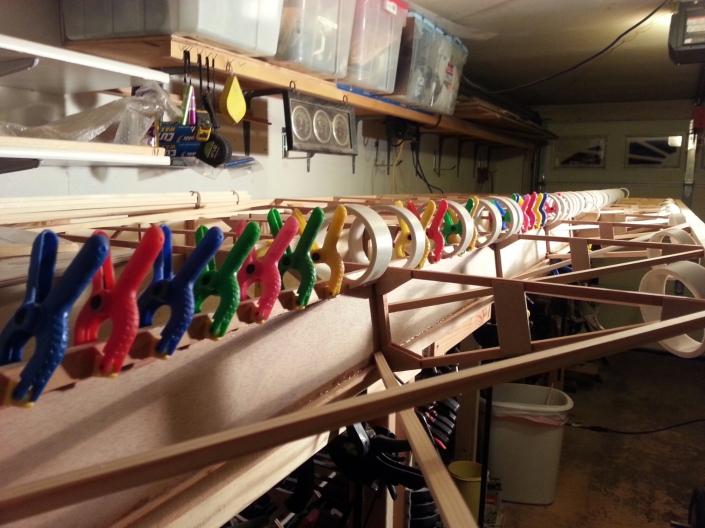
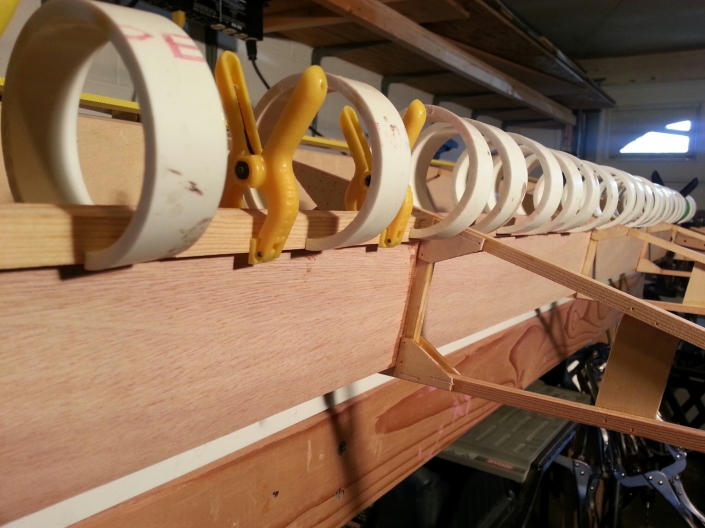
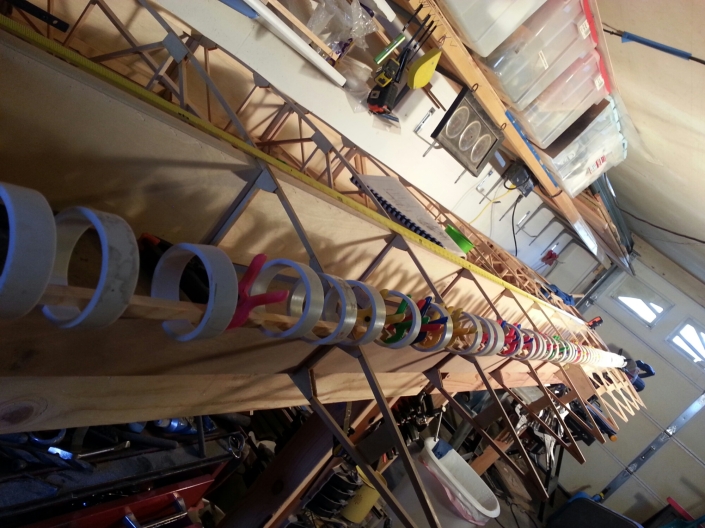
I decided to glue the top RS-3 aileron spar caps before turning the wing around. This time I used clamps instead of staples.
Took nearly every small clamp I have.
The root and tip ribs were also glued in place.
Left Aileron Spar
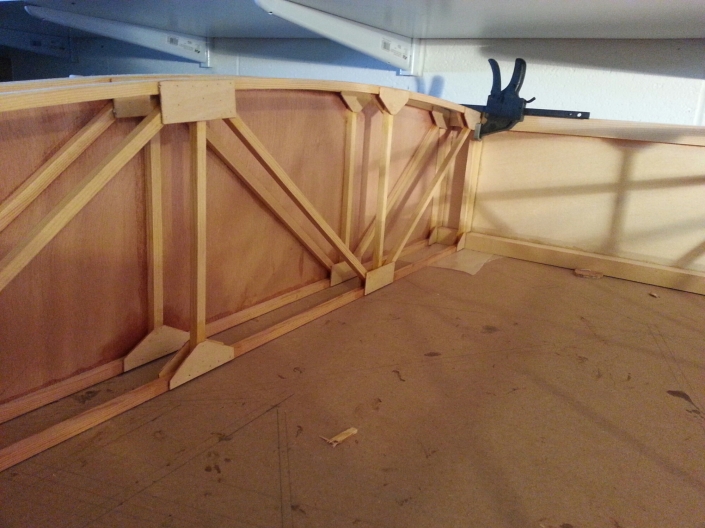
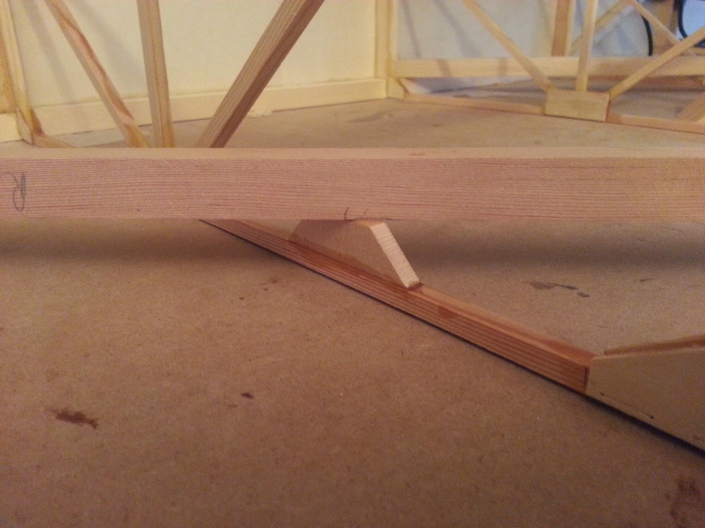
Before turning the wing around to glue the trailing edge on I decided to glue the RS-653 aileron spar webbing in place.
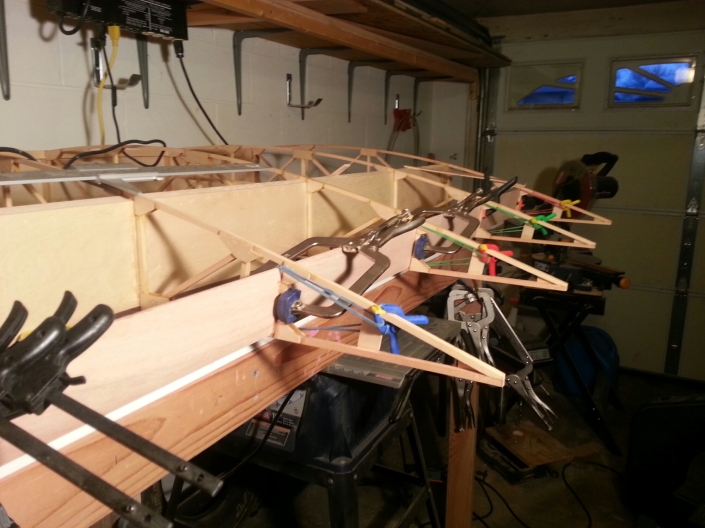
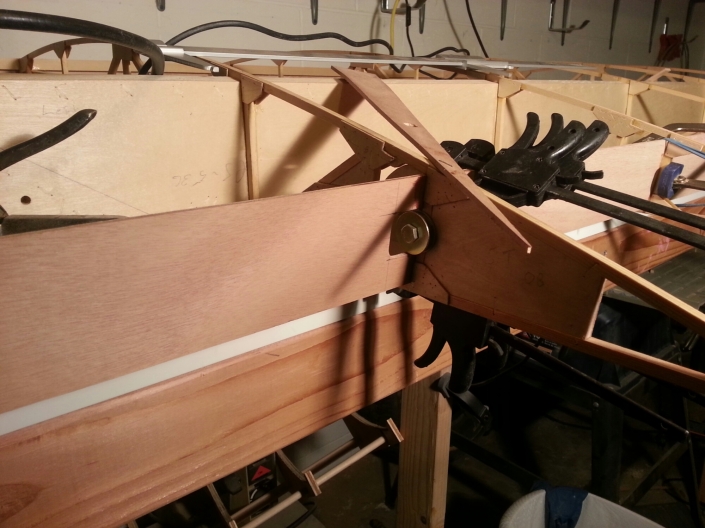
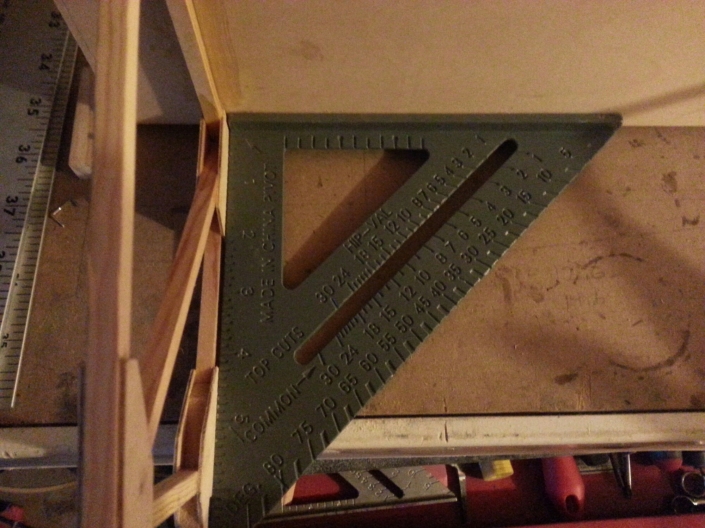
I used a small square to ensure all of the ribs were straight.
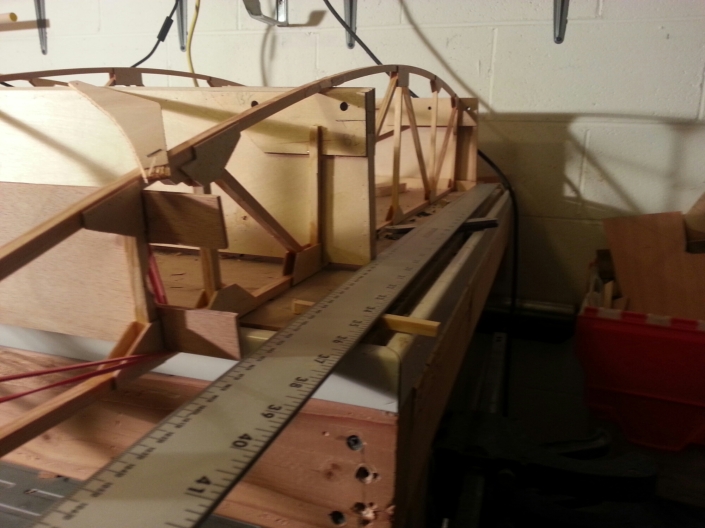
I also used a straight edge to make sure the webbing was centered, it should match the ends of the spars.
Left Wing Assembly
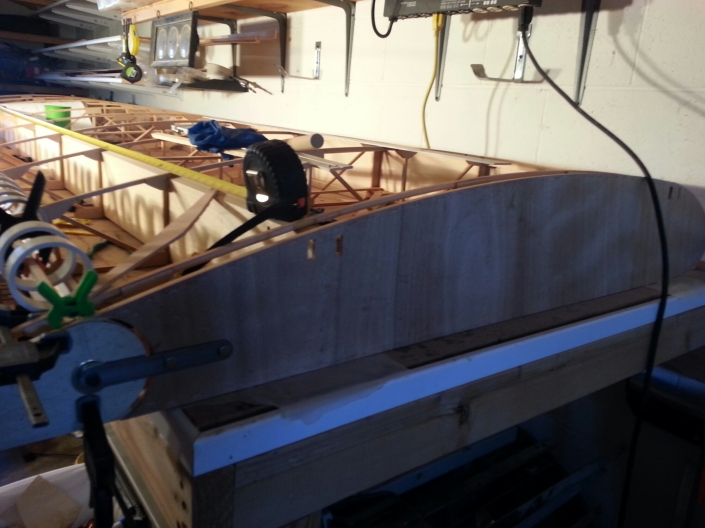
Started assembly of the left wing, the last major component. Doing things a little different than the right wing now that I have some experience.
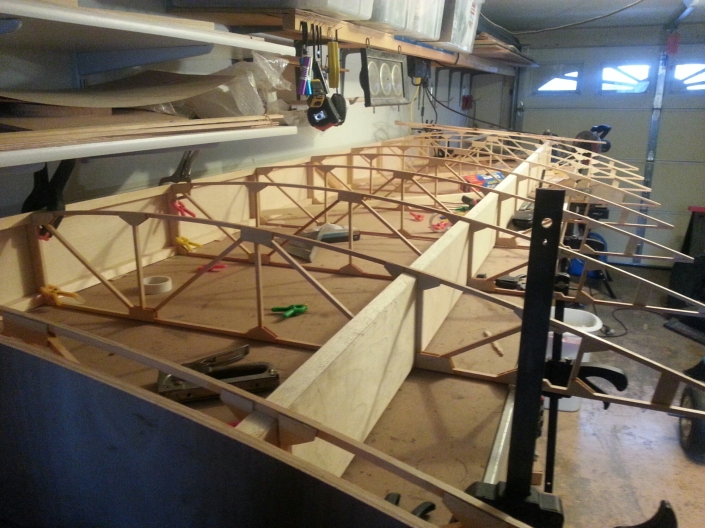
I did not install the RS-561 gussets on the spars yet, they were a nuisance trying to keep things straight and putting them on later is no more difficult than doing it now.
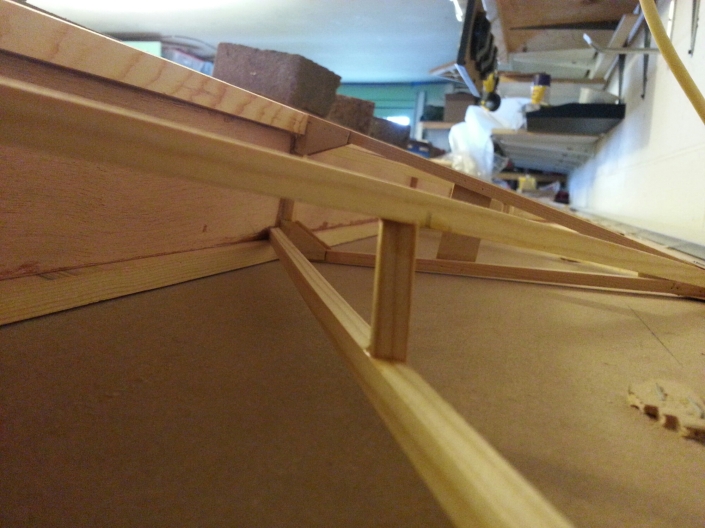
I cut the three drag braces out if RS-7,8 & 9. When glueing the drag braces in place I only glued ribs #2,3,4,5,6 & 7. Once the glue was dry I glued ribs #8,9 & 10 in place and added the support blocks for the drag braces.
The RS-561 root gussets were glued in place and RS-11 corner blocks were added to the drag braces.
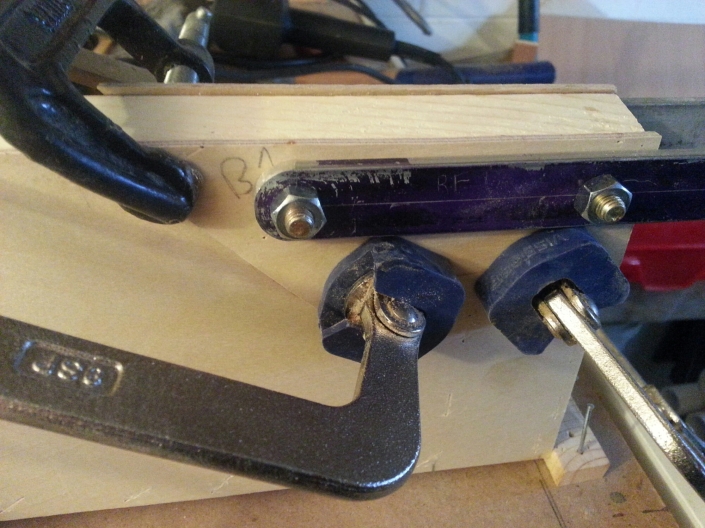
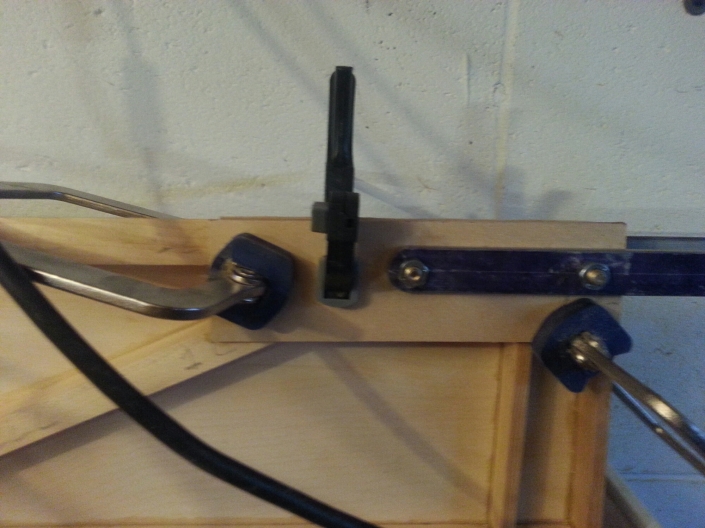
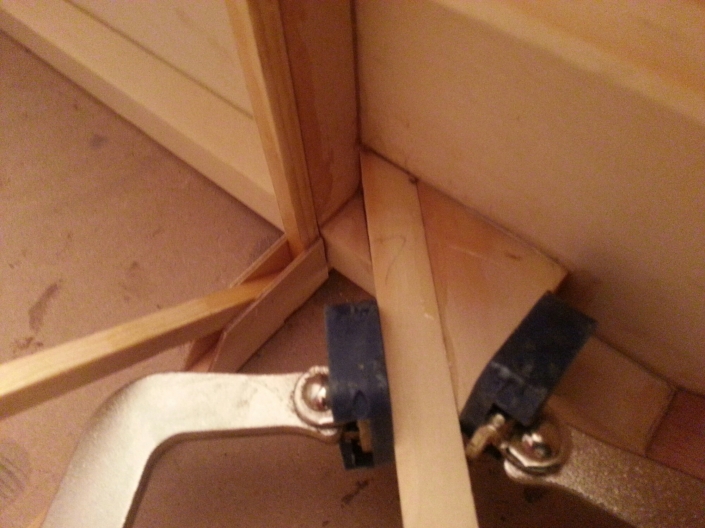
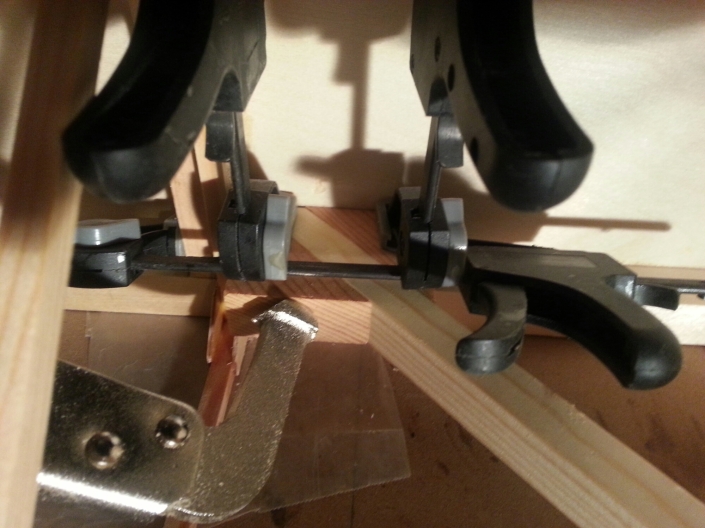
Rib #1 was modified to make room for the gussets and carry through brackets then glued in place.
Compression members were cut from RS-5 and glued to ribs #3, 5, 7 & 9.
All of this took a few days working a couple hours a day. Next step is to cut the RS-653 aileron spar webbing then turn the wing around and assemble the trailing edge.
